10 times better than store bought bread!Bread Making!
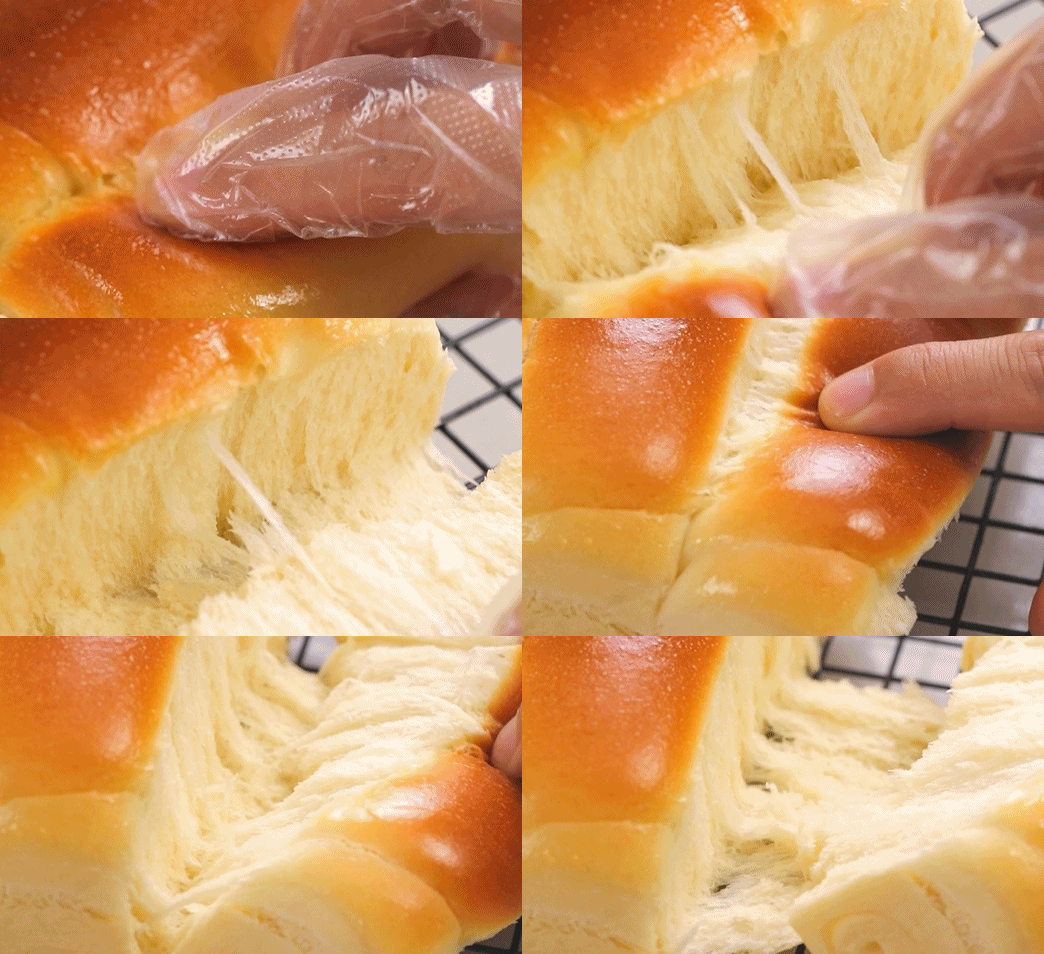 |
Today I will recreate the classic bread from my childhood! In order to simplify the shaping steps, I did not choose the classic "knotting" method, but directly rolled it into strips. This makes the whole dough look more neat and quite healing. Friends, you can also try your hand~
Material
Old noodles
| High-gluten Flour | 190g |
| Low-gluten Flour | 60g |
| Fine Sugar | 20g |
| Dry Yeast | 5g |
| Milk | 280g |
Main dough
| High-gluten Flour | 230g |
| Low-gluten Flour | 70g |
| Fine Sugar | 90g |
| Salt | 5g |
| Milk Powder | 35g |
| Egg | 60g |
| Butter | 50g |
surface
| Milk | A little |
| Butter | A little |
Production process
Step 1

First, make the dough. Add 20g of granulated sugar to 280g of milk. Cold milk will cause slow fermentation, so use room temperature milk. Then add 190g of high-gluten flour and 60g of low-gluten flour. Adding some low-gluten flour will not hinder the film drawing, but will make the taste softer. Finally, add 5g of high-sugar tolerant dry yeast.
Step 2
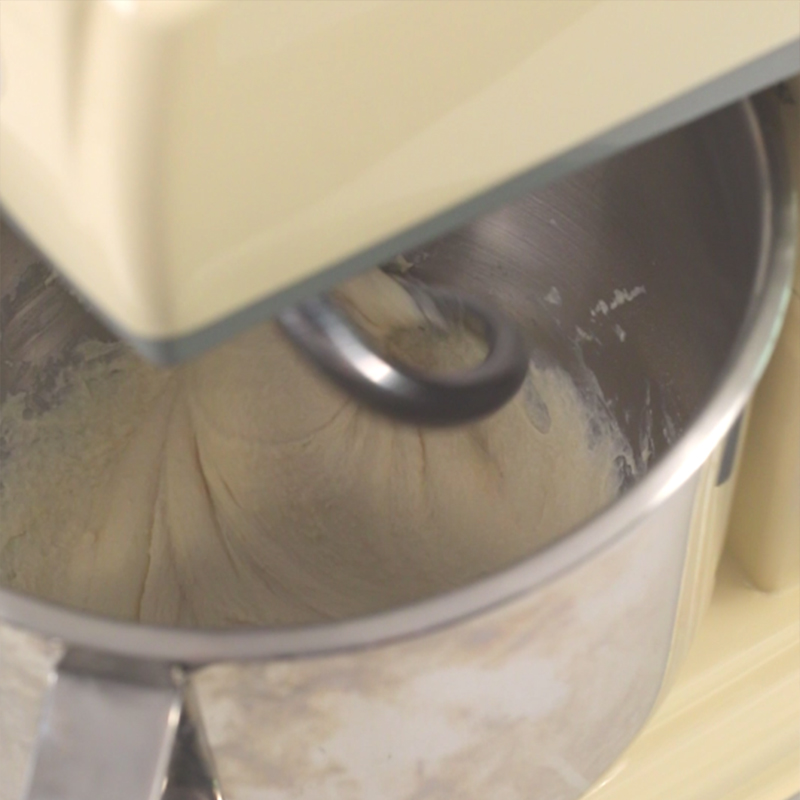
Pour the old dough in the mixing bowl into the dough mixer and mix it. It is very simple to mix the old dough, as long as no dry powder is visible. It is normal for the old dough to have a relatively thin texture.
Step 3
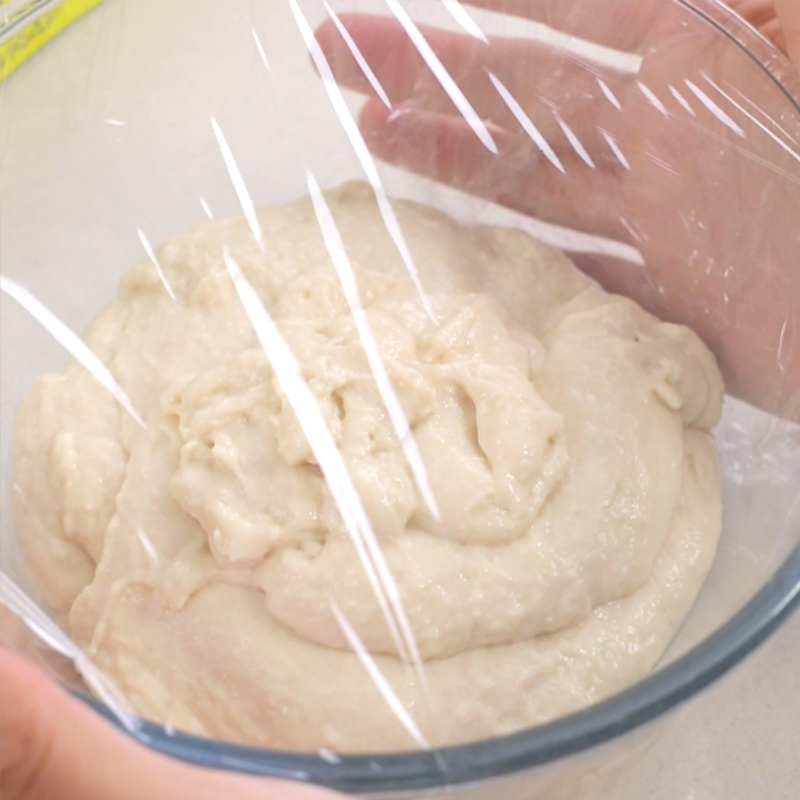
Cover with plastic wrap and you can choose to ferment in the refrigerator overnight, or you can choose to ferment at room temperature for 2 hours.
Step 4
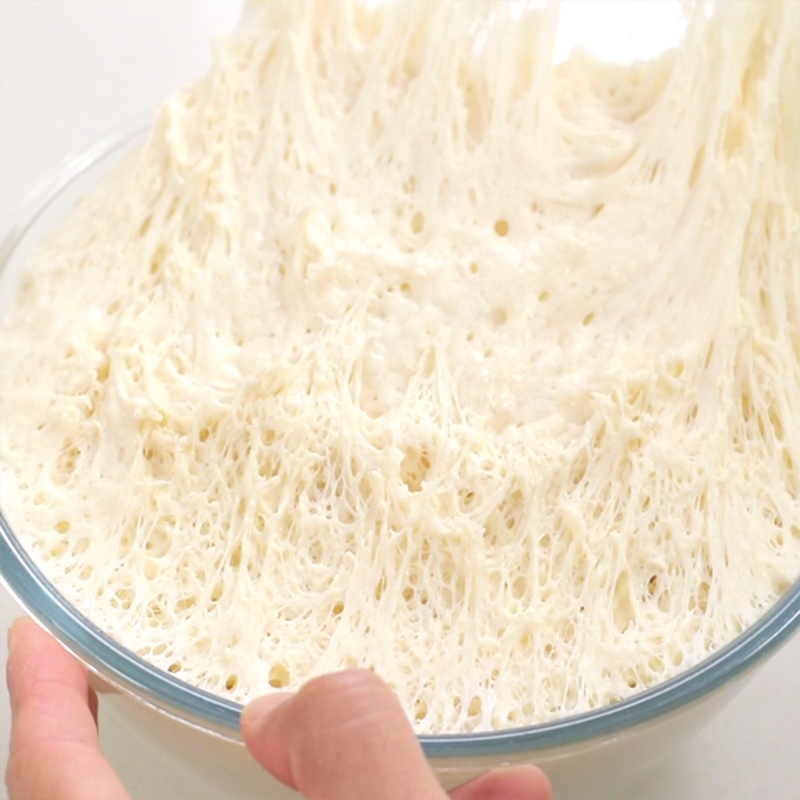
Regardless of whether the old dough is fermented in the refrigerator or at room temperature, the final state is that the volume has expanded 3.5 times, there are abundant reticular pores inside, and you can smell a distinct sour fermentation smell, which is just right.
Step 5
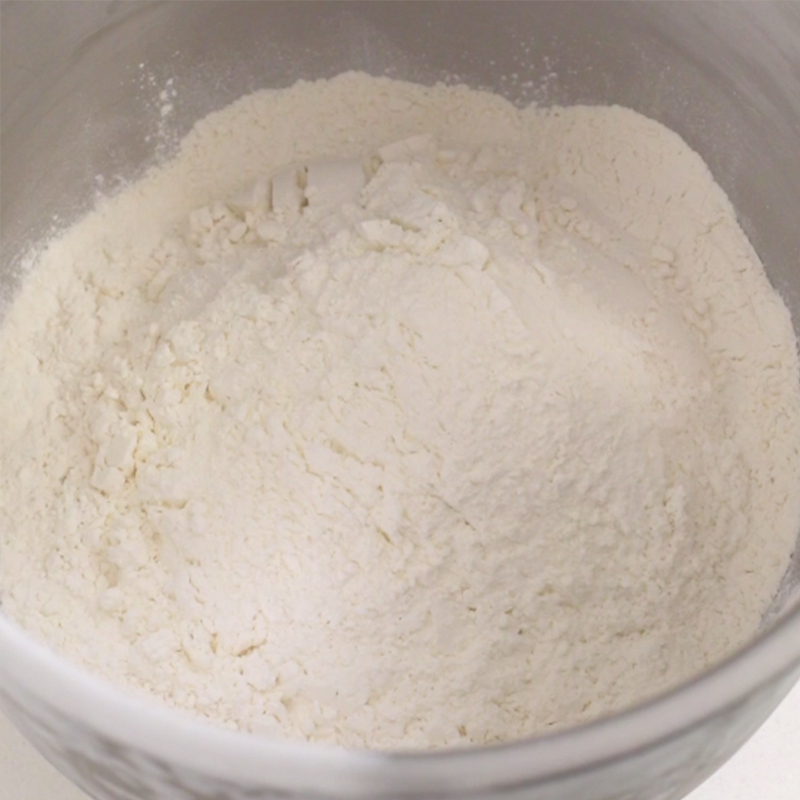
Put all the old dough into a mixing bucket, add 60g eggs, 90g fine sugar, 5g salt, 35g whole milk powder, 230g high-gluten flour, 70g low-gluten flour. Since the yeast is already in the old dough, there is no need to add yeast to the main dough.
Step 6
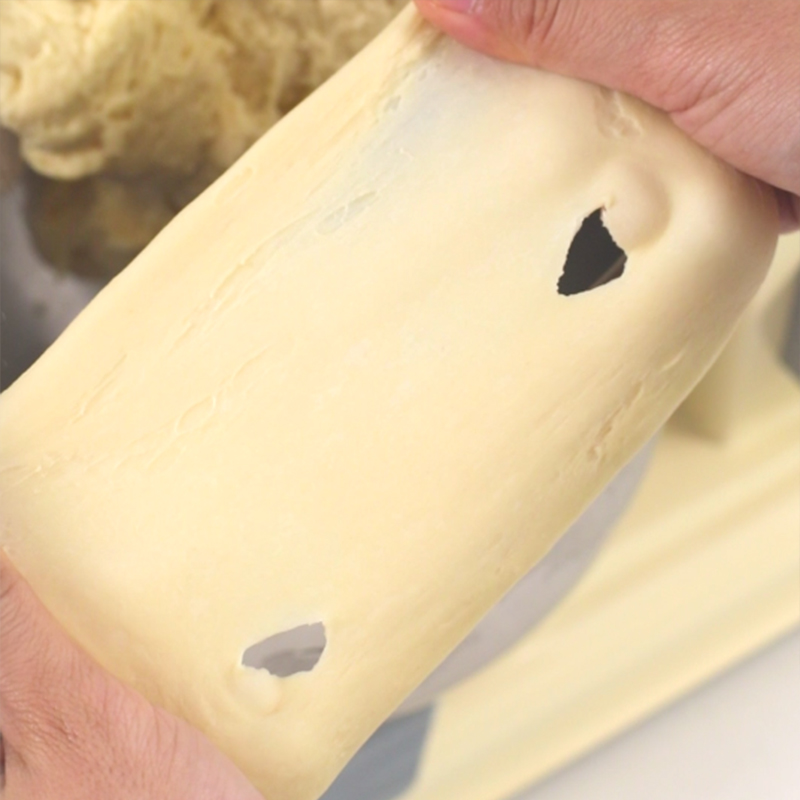
First stir at level 3 for two minutes, until no flocs of dry powder are visible. Then stir at level 5 for eight minutes, until the dough can stretch out the thick and rough gluten, and the gluten is torn apart, with jagged cracks.
Step 7
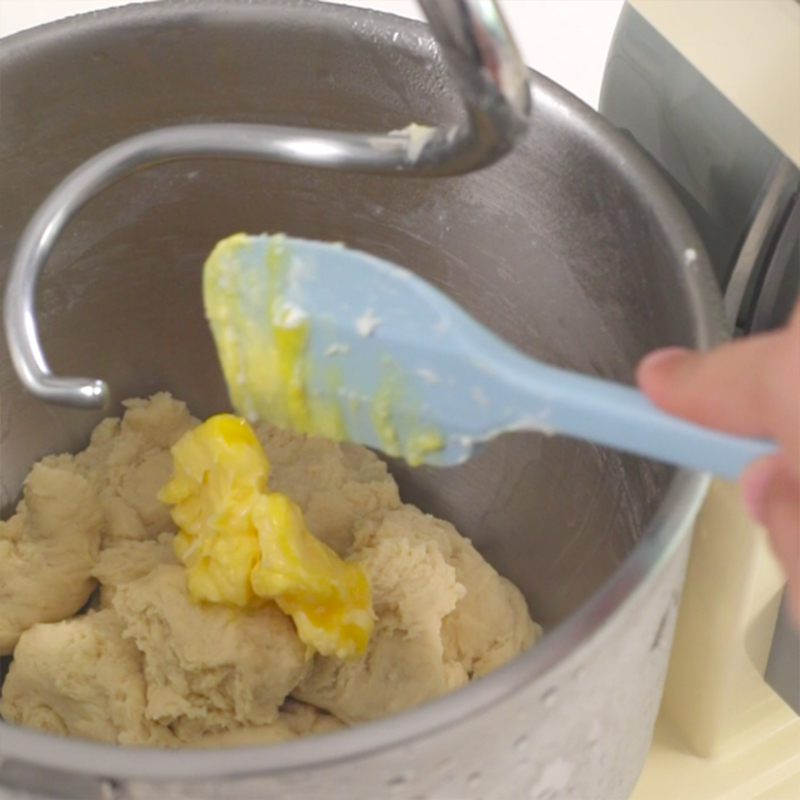
Tear the dough into pieces so that the butter can blend faster. Use a silicone scraper to add 50g of softened butter into the dough mixer.
Step 8
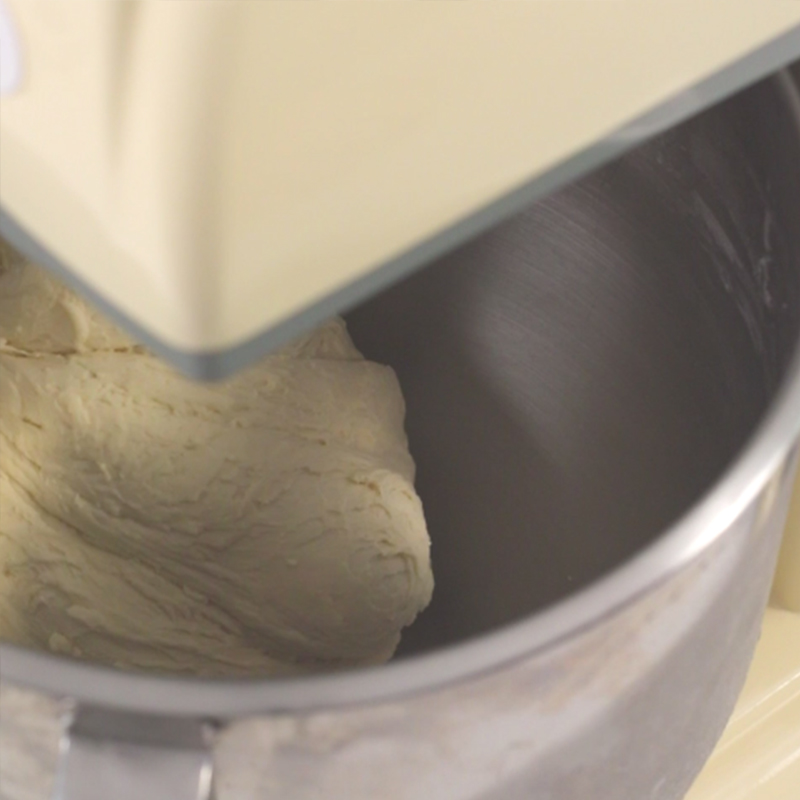
Stir at level 5 for 10 minutes. As the saying goes, machines are dead, but people are alive. Today’s dough is relatively firm, and you may not feel any signs of film formation when stirring.
Step 9
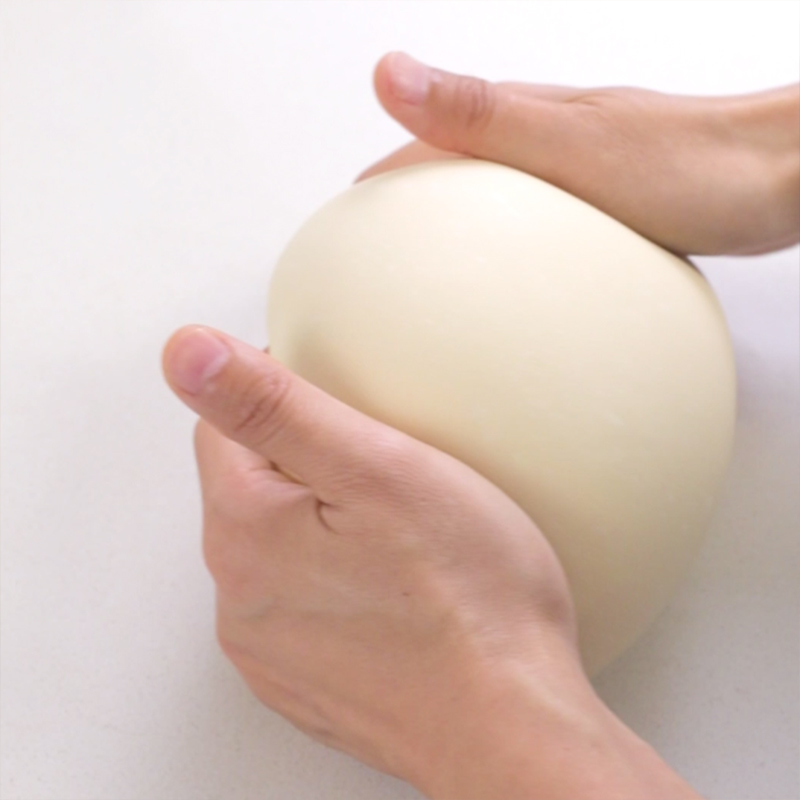
But as long as we beat the dough into a ball, cover it with plastic wrap and let it relax for 10 minutes.
Step 10
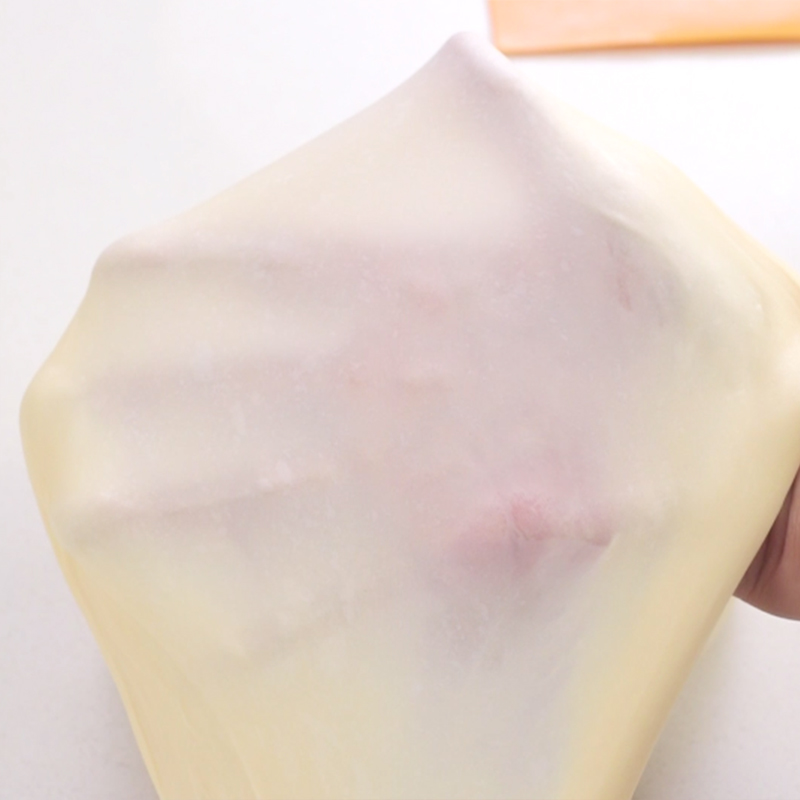
Then you can pull out a large piece of transparent film.
Step 11
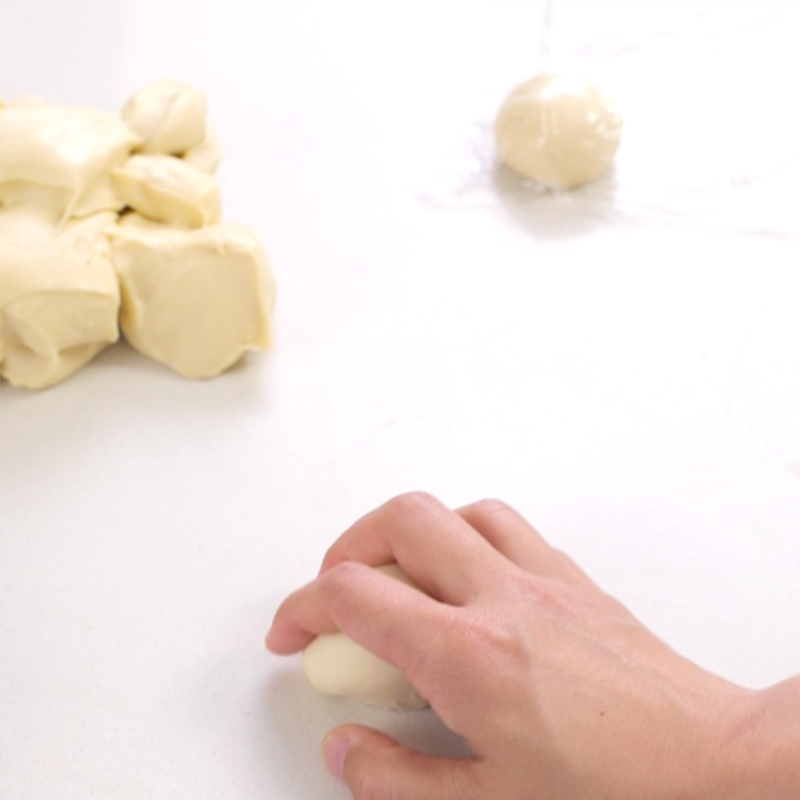
We divide the dough into 24 equal portions of 45g each, and then roll them into balls.
Step 12
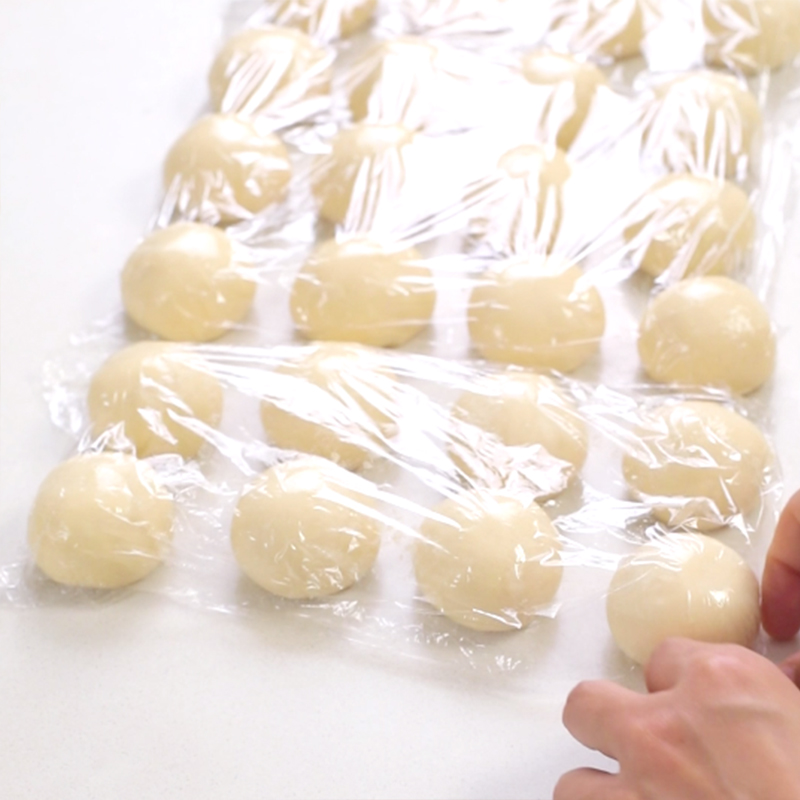
Cover with plastic wrap and let it relax for 10 minutes. Relaxation helps the dough regain its ductility, and it will not bounce back repeatedly when rolled out with a rolling pin.
Step 13
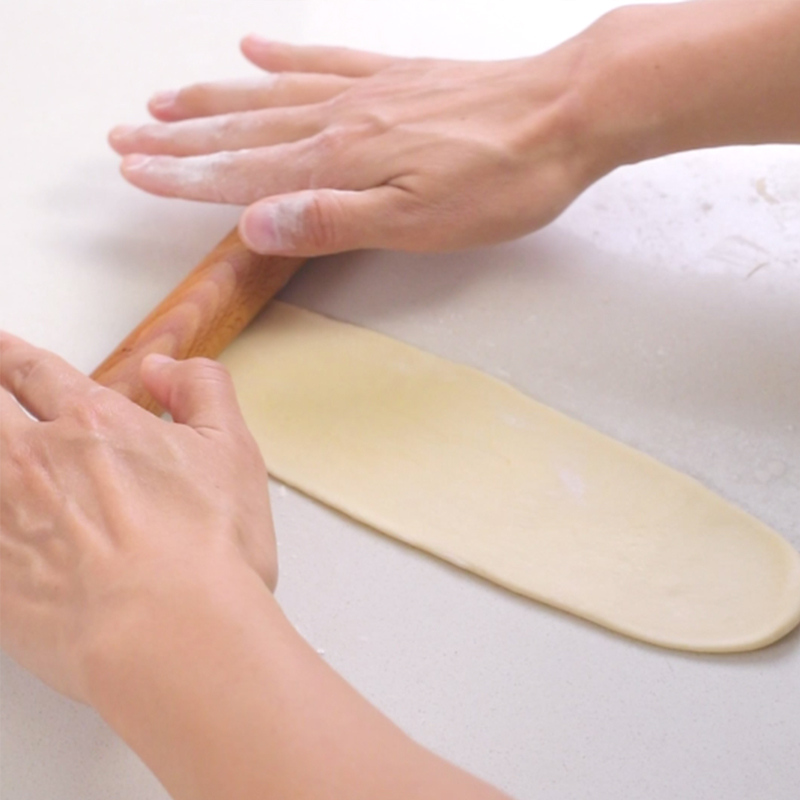
Take out the relaxed dough, with the closed end facing down, sprinkle a little flour on it to prevent it from sticking, stretch it from the middle to both ends, then turn it over, with the closed end facing up, and stretch it to both ends again.
Step 14
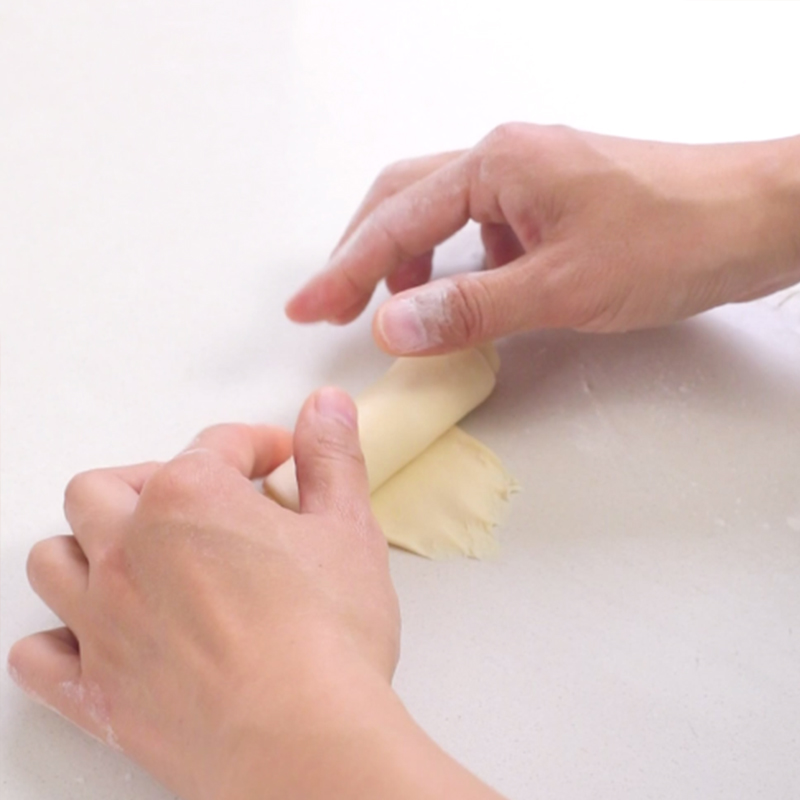
Roll up from top to bottom and peel open the bottom to facilitate closing and gluing.
Step 15
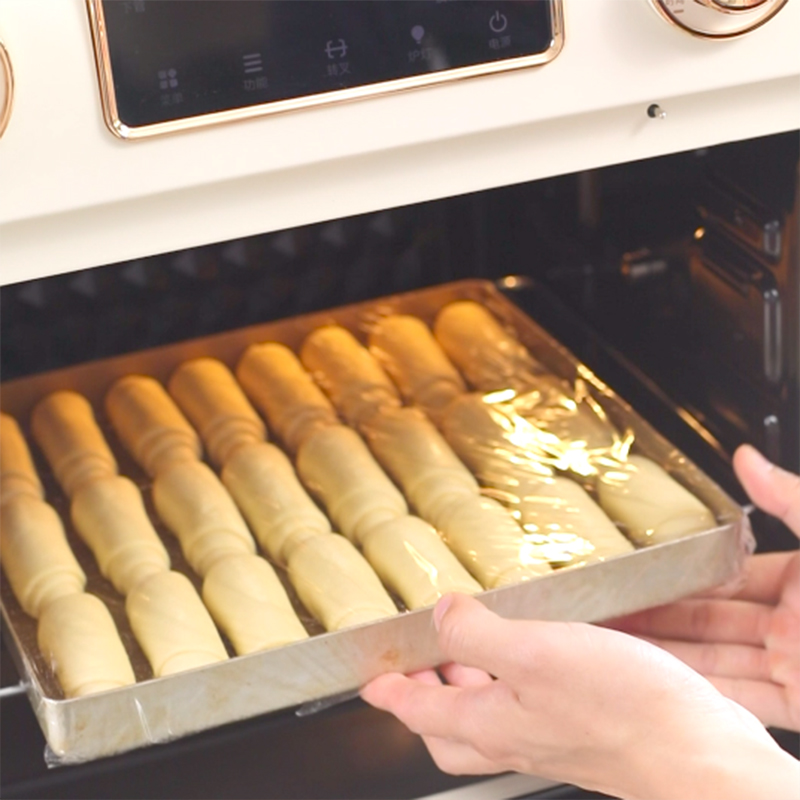
Place in a 28 cm square baking pan, eight in a row, three rows in total, cover with plastic wrap, and ferment in the oven at 38 degrees for 1 hour.
Step 16
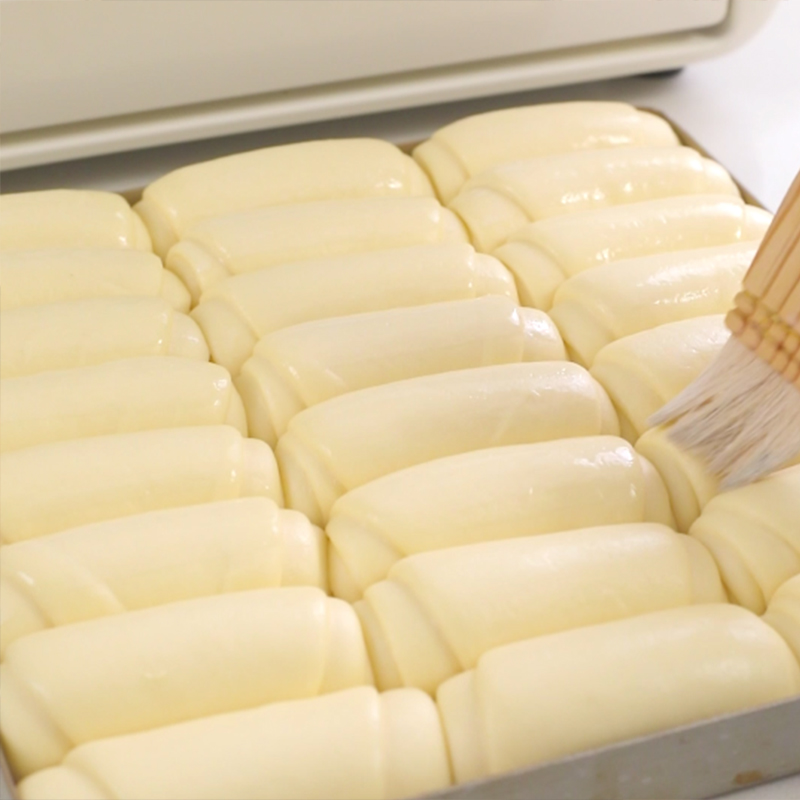
Since everyone's oven has a different temperament, the fermentation time will be slightly different. In short, the volume can be expanded 2 to 2.5 times, and use a brush to brush a thin layer of milk on the surface.
Step 17
Put it into the middle layer of the preheated oven, bake at 170 degrees for about 25 minutes. The specific temperature and time are for reference only and should be adjusted flexibly according to actual conditions.
Step 18
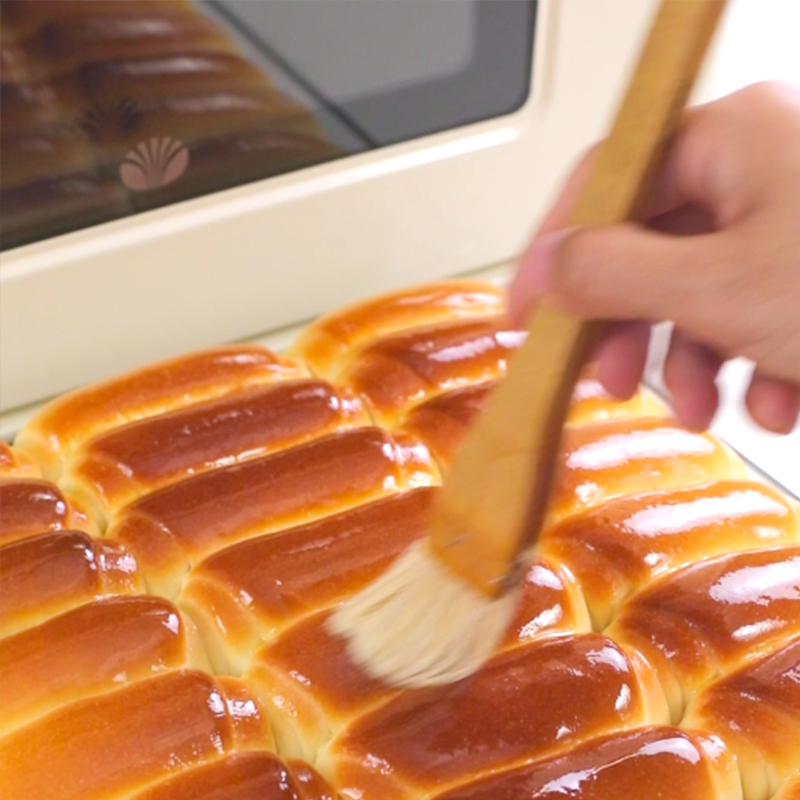
Take out the baked bread, first shake it in the mold to release excess heat, then apply a layer of melted butter to smooth and moisturize it, and remove the bottom baking tray as soon as possible to avoid moisture being released in the baking tray during cooling, which will cause the bread to become sticky.
Publish time : 2025-02-25
